
How to Create a Wooden Panel Wall with Shelves for Stunning Wall Decor in Your Living Room?
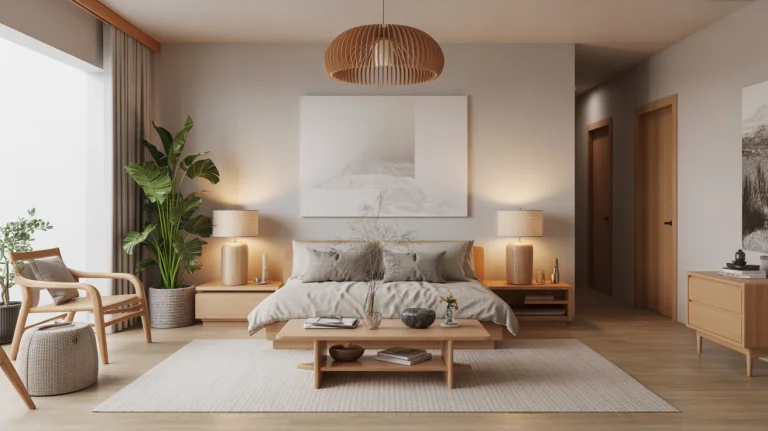
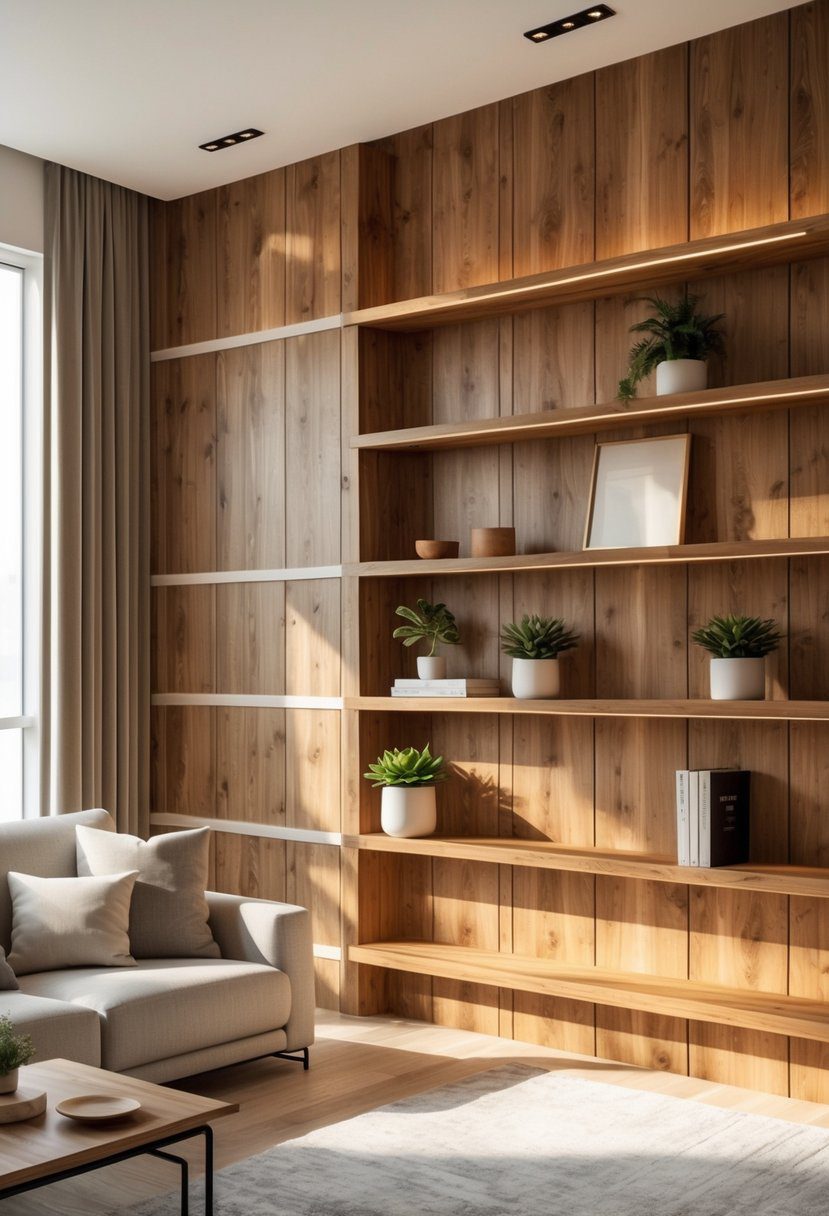
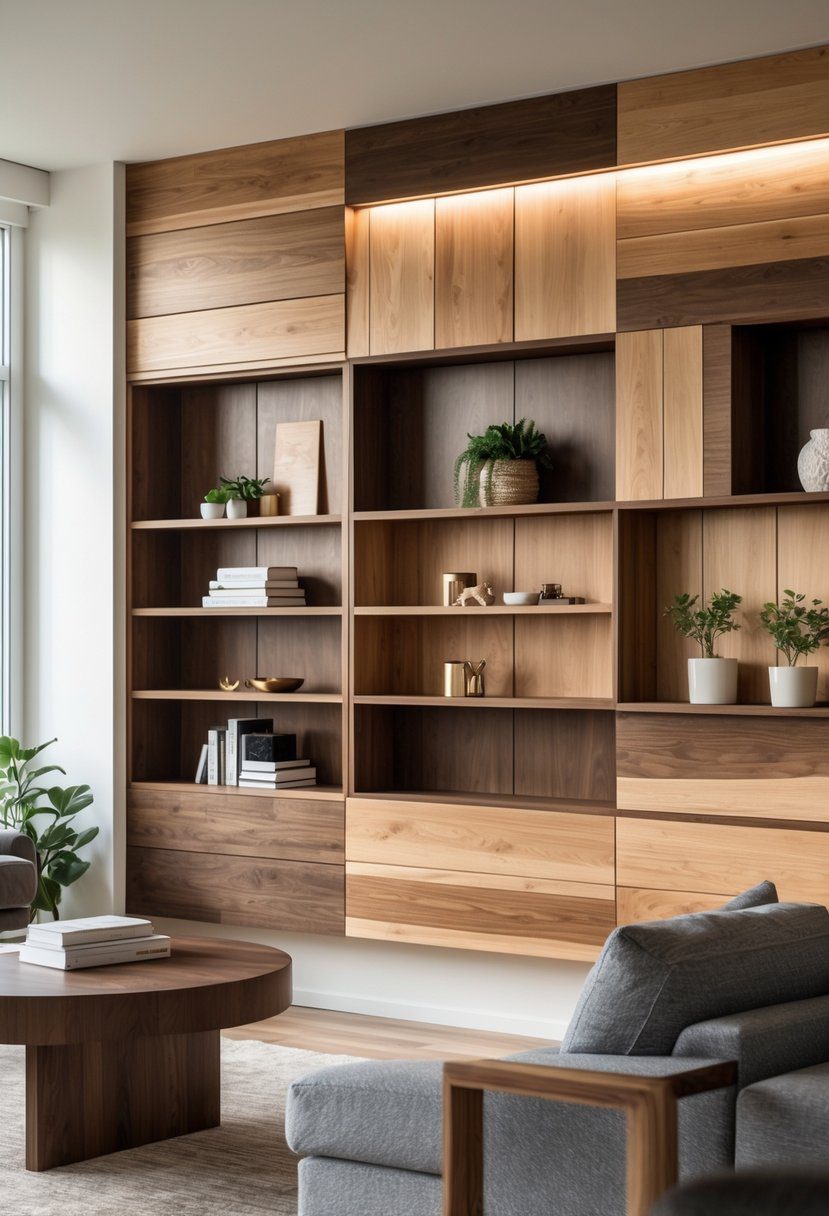
Creating a wooden panel wall with shelves is an effective way to add character, warmth, and functionality to a living room. By combining wood panels with built-in shelves, one can create a striking accent wall that serves both as decor and storage. This approach allows the wall to stand out while providing space to display books, plants, or decorative items.
The process involves careful planning on where to place the shelves and selecting the right type of wood and finish that matches the room’s style. Whether opting for modern sleek panels or rustic reclaimed wood, the design can be customized to fit various aesthetics. With the right tools and steps, even beginners can successfully complete this project to transform their living space.
This project not only enhances the room’s look but also adds texture and depth, making it a focal point that impresses visitors. A well-built wood panel wall with shelves improves both the visual appeal and usability of the living room.
Key Takeways
- Planning ensures the shelves and panels fit the room’s design and function.
- Choosing the right wood and finish impacts the style and durability.
- Following clear steps makes the project achievable for most skill levels.
Planning Your Wooden Panel Wall with Shelves
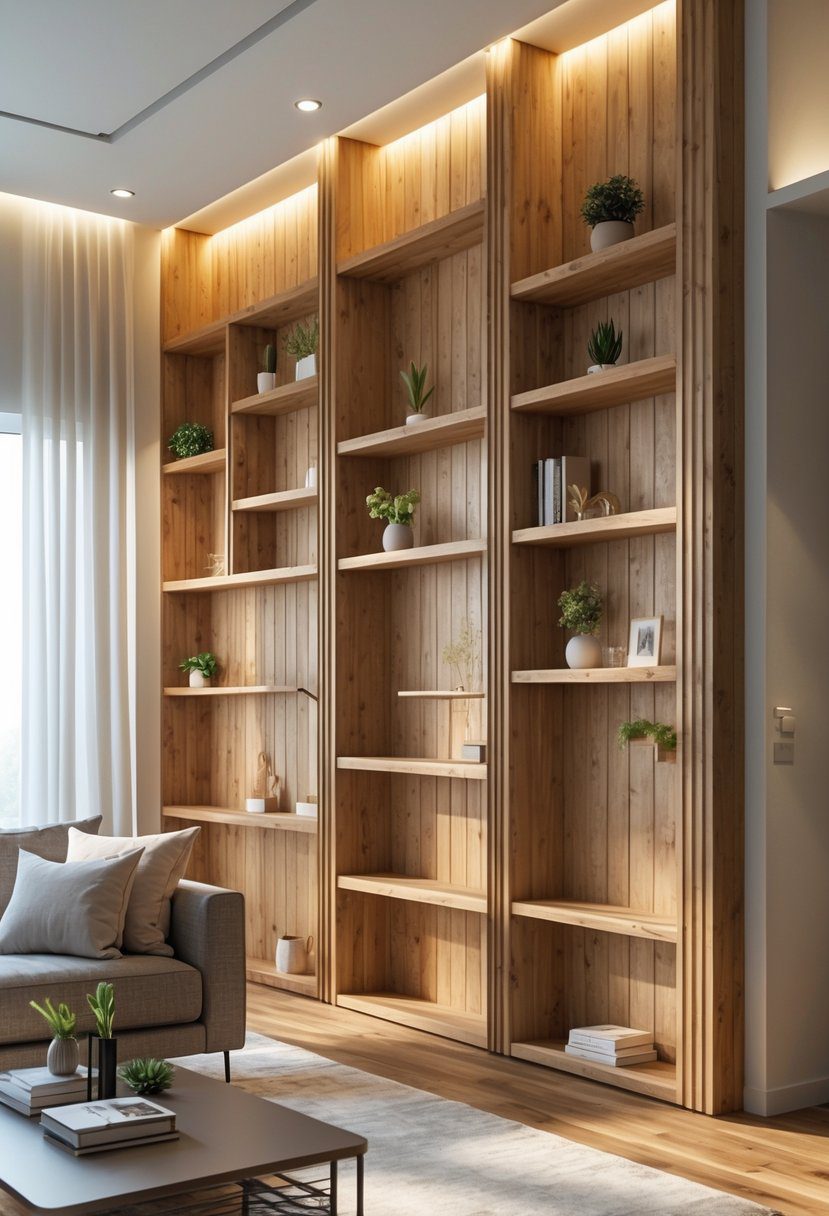
Careful preparation is essential for a successful wooden panel wall with shelves. It includes picking the best spot, taking accurate measurements, and deciding how to combine floating shelves with wooden shelves for both function and style.
Choosing the Right Wall and Location
The ideal wall is flat, sturdy, and free of obstacles like outlets or switches in awkward places. Interior walls usually work best, especially those visible when entering the room. Walls without direct sunlight help prevent wood fading.
Consider the wall size and its relation to furniture. A large wall can handle wider wooden panels and more shelves. Make sure the wall can support the weight of both wooden panels and shelves, especially if heavy items will be displayed.
Measuring and Layout Design
Accurate measurements are crucial. Measure wall width, height, and existing features like baseboards or molding. Record these dimensions clearly.
Plan the panel layout before buying materials. Panels should fit well with minimal cutting. Mark the locations for shelves on the wall, considering their height and spacing based on typical item sizes, such as books or decor.
A simple drawing or digital design helps visualize the final look. Include space for floating shelves, keeping some distance between panels and shelves for a clean appearance.
Integrating Floating and Wooden Shelves
Floating shelves and wooden shelves can serve different purposes and styles on the same wall. Floating shelves offer a light, clean look and suit small or decorative items. Solid wooden shelves provide strength and a rustic feel.
It’s often easier to build the wooden panel wall and shelves as one solid unit and then mount it on the wall. This approach secures the entire setup and ensures alignment.
When placing floating shelves, fix them directly into studs or use heavy-duty anchors. Wooden shelves may need brackets underneath for extra support depending on their size and weight.
Use consistent wood types and finishes for a harmonious design, but mix shelf styles for functional contrast.
Selecting Wood Types and Finishes
Choosing the right type of wood and finish is crucial for both the look and durability of a wooden panel wall with shelves. The wood’s texture, strength, and color will affect how well it supports weight and fits the room’s style. Finishes like stains or paints further shape the final visual impact and protect the surface.
Popular Wood Types for Shelving and Paneling
Common woods for wall paneling and shelving include oak, pine, cedar, and walnut. Oak is strong and has a prominent grain, making it ideal for both classic and modern designs. Pine is softer and more affordable but still works well for lightweight shelving.
Cedar offers natural resistance to moisture and insects and has a warm reddish tone. Walnut is a darker, denser wood that adds elegance but costs more. Each wood type varies in hardness, grain pattern, and color, which influences the overall style and durability.
Assessing Wood Grain and Quality
Wood grain shows the natural pattern on the wood surface, which affects both strength and appearance. Straight, tight grain usually indicates a stronger wood that holds screws and nails better. It also looks cleaner and more uniform.
High-quality wood should be free of large knots, cracks, and warping. Knots can add character but may weaken the structure, especially for shelves holding weight. Checking for smoothness and consistent thickness ensures easier installation and a better finish.
Working with Reclaimed Wood
Reclaimed wood offers a unique look with weathered textures and colors not found in new lumber. It is often environmentally friendly by reusing old materials. However, reclaimed wood can have nails, holes, or uneven surfaces, requiring extra preparation.
Reclaimed wood is best for rustic or vintage styles. It may be less stable than new wood, so it might need treatment or reinforcement when used for shelves. Careful inspection and cleaning are important steps before installation.
Choosing Stain or Paint for Desired Visual Impact
Stains enhance the wood’s natural grain and color while offering protection. They come in light, medium, and dark shades, allowing flexibility to highlight or tone down the wood’s look. Clear or matte stains keep a natural feel, while darker stains add contrast.
Paint covers the grain entirely, providing a smoother, uniform finish. It can brighten a room with white or pastel colors or add boldness with darker shades. Paint also seals the wood well but hides its natural beauty.
Both stain and paint require a primer or sealant to protect against moisture and wear, especially in living rooms where durability matters.
Step-by-Step Construction Process
Building a wooden panel wall with shelves requires careful preparation, precise assembly, and secure installation. It is important to balance aesthetics and safety by choosing the right materials, preparing the surface properly, and ensuring the shelves can hold weight without risk.
Gathering Materials and Essential Tools
Start by collecting quality wooden panels, such as MDF or hardwood, suited for wall use. Select shelves that match the panel style—floating shelves are popular for their clean, modern look. Essential tools include a measuring tape, level, stud finder, drill, screws, adhesive, saw, and sanding paper.
Materials checklist:
- Wooden panels (cut to wall size)
- Wooden shelves (floating or traditional)
- Wood adhesive and screws
- Wall anchors (if studs aren’t accessible)
- Sealant or paint for finishing
Tools checklist:
- Drill and drill bits
- Stud finder
- Level and pencil
- Saw (circular or hand saw)
- Sandpaper or sander
Gathering these materials first prevents interruptions during the project and ensures smooth progress.
Preparing Wall and Assembling Panels
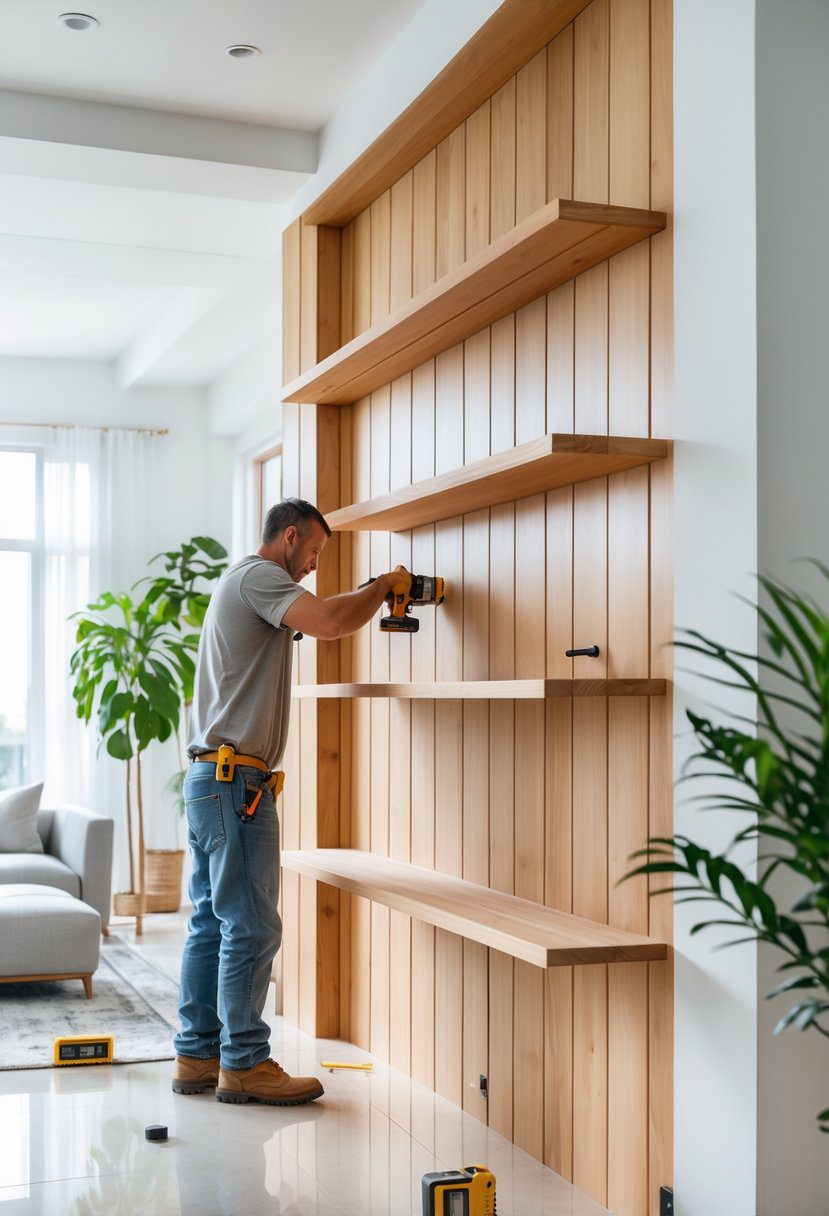
Begin by clearing the wall and using a stud finder to mark stud locations. This helps secure panels and shelves firmly. Lightly sand the wooden panels to smooth edges and prepare for paint or stain.
Cut the panels to fit the wall, ensuring precise measurements. Dry fit the panels to check alignment and gaps. Use adhesive on the back of each panel before pressing it into place. Reinforce with screws driven into the studs for durability.
Fill any gaps or holes with wood filler. Once dry, sand smooth. Apply sealant or paint to protect the wood and improve appearance. This layer also makes cleaning easier.
Installing and Securing Shelves
Select mounting brackets suitable for the shelf type. Floating shelves require strong internal brackets or hidden supports.
Mark shelf positions on the wall, aligned with studs for better support. Use a level to ensure shelves sit evenly. Drill pilot holes for screws to avoid cracking wood.
Attach brackets to the wall, then place shelves on them. Secure shelves to brackets with screws or hidden fasteners, depending on shelf style. Check shelf stability by applying gentle pressure.
For heavier items, choose thicker shelves or reinforce with metal brackets. Proper installation keeps the shelves secure and the wall decor looking sharp.
Ensuring Proper Weight Distribution and Safety
Distribute weight evenly across shelves, especially when placing heavy objects. Avoid crowding one shelf with too much weight, which can cause sagging or damage.
Use wall anchors if studs are not available, as drywall alone cannot hold heavy loads. Ensure all screws are tightened and check periodically for any loosening.
Floating shelves should have strong internal supports rated for expected weight. Reinforce the panel structure if necessary with additional studs or braces.
Safety depends on secure fixing and balanced loading. This prevents accidents and keeps the installation stable over time.
Styling and Maintaining Your Wooden Panel Wall
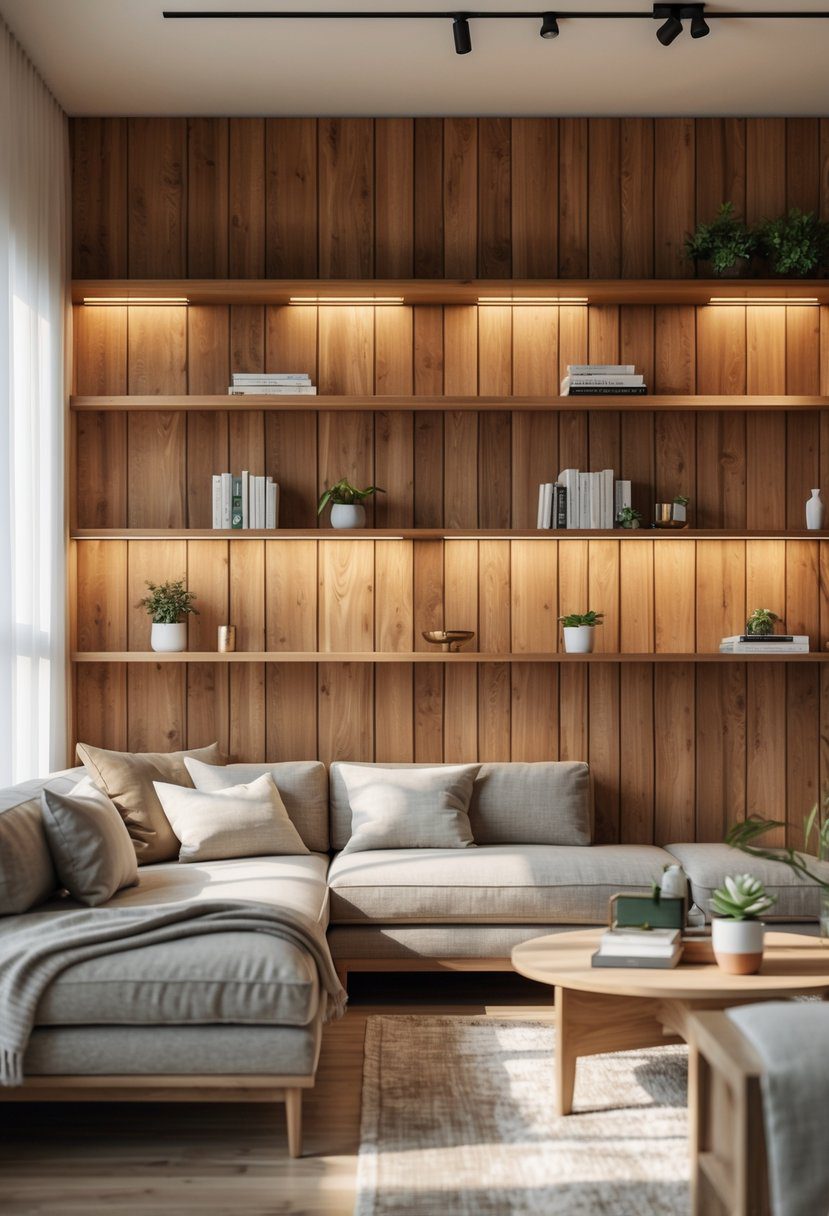
A wooden panel wall with shelves can become a striking feature in a living room when styled well. Proper decoration, blending with existing decor, and routine care will keep the wall looking its best and add personality to the space.
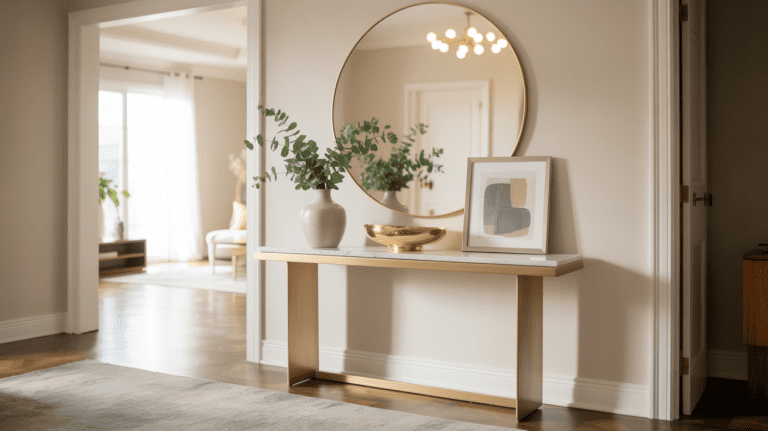
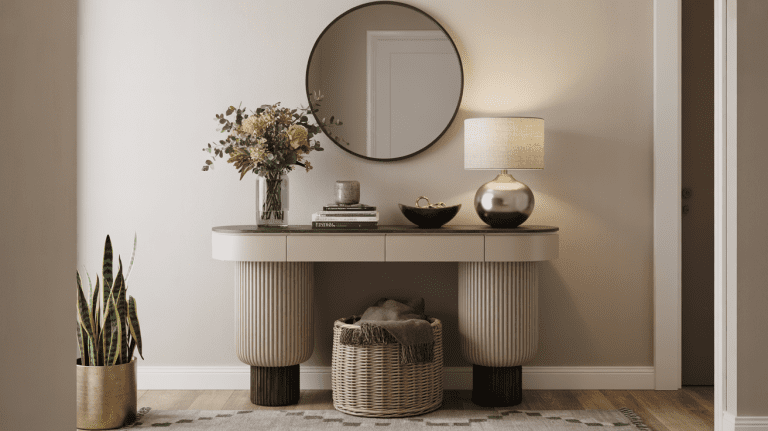
Decorating and Arranging Items
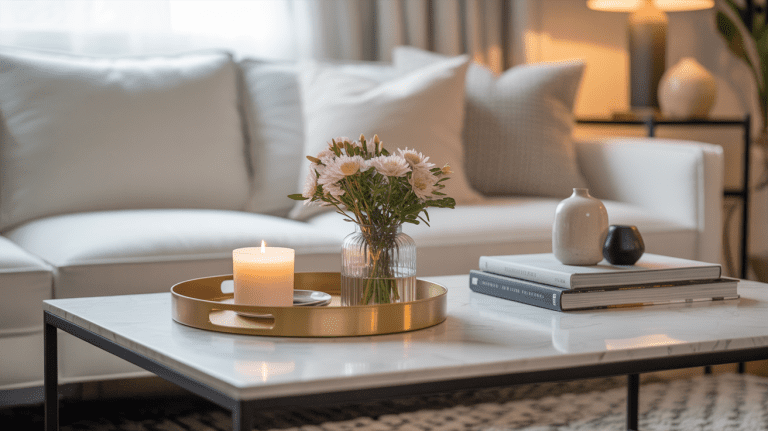
When placing items on wooden shelves, it’s important to balance aesthetics and function. Use a mix of objects such as small plants, books, and decorative items to create interest without cluttering.
Group items in odd numbers for visual appeal, and vary heights to add dimension. Avoid heavy or sharp objects that could damage the wood. Use lightweight frames or ceramics to keep shelves stable.
Consider adding items with different textures like woven baskets or metal accents for contrast. Keep space between objects to prevent overcrowding, allowing the wood paneling itself to remain visible.
Blending with Living Room Decor
The wooden panel wall should complement the room’s style and colors. Choose wood tones that work with furniture and flooring. For instance, warm tones match well with earth colors, while light woods suit modern or minimalist designs.
Shelves painted or stained to match the wood panels offer a seamless look. Alternatively, contrasting shelf colors can create a more dynamic effect.
Furniture placement is also key. Position seating and lighting to highlight the wall. Simple, clean-lined furniture near the panel wall keeps focus on it without overpowering.
Ongoing Care and Maintenance
To keep the wooden panel wall in good condition, regular dusting is essential. Use a soft cloth or duster to remove dust from both panels and shelves.
Avoid excess moisture. Clean panels with a damp cloth only when necessary, wiping immediately to prevent water damage. A wood-safe cleaner can be used occasionally for deeper cleaning.
Inspect shelves and panels for signs of wear or loosening screws. Tighten hardware as needed. Reapply sealant or protective finish every few years to maintain durability and appearance.